Turn your old PC into a File Server
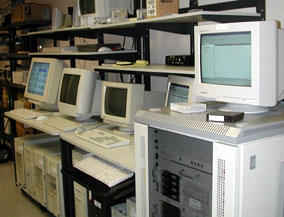 If you want to give that old computer new life on your home network, try using it as a file server for music or pictures or whatever so that no matter where in the house you are you can access your massive digital library from any computer. Here’s what you’ll need to do…
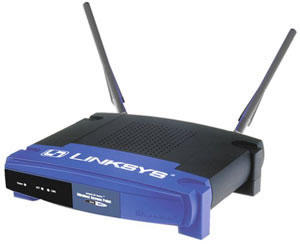 You’ll need a home network. If you don’t you’ll need to buy a home network router (Rs.2000-Rs.3000 Indian rupees from DLink, Linksys, Netgear, etc.) and connect it to you high speed Internet connection and connect all your computers to it, including the old computer you are going to turn into a server.
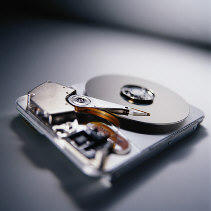
You will need to make sure that there’s enough hard drive space for all your files. Really old computers will have hard drives that are less than 10 GB, so you might consider adding a new larger hard drive. An old Pentium II or better with a 10 GB hard drive is probably your best bet.

Check to see that the computer has a network card so it can be connected to the network. Most older computers will have 10 Megabit Ethernet cards which should be fine, but you might consider upgrading to a newer 100 Mbit or Gigabit card.
Sharing
1) Put all your files on the computer in a folder called FILES on the Desktop (or you could name it DATA or anything else…just make it memorable and one word. In the example below I’ll continue to use the name FILES.)
2) For easy identification on the network you might consider renaming the computer SERVER (or FILESERVER) in Control Panel under Network and Identification Tab (in Windows 98).
3) Right click on the FILES folder to activate sharing and give the shared folder a name on the network. You may have to run the file and printer sharing wizard first then right click and activate sharing after this.

4) On the SERVER computer click START then Run then type cmd (if you have XP or Me) or command (if you have Windows 95/98) to get a DOS box.

5) At the C:> prompt type ipconfig (and hit return) to see what the computer’s IP address is.

6) Write that number down. It will be something like 192.168.x.x where the X represents number between 0 and 255.

Acquire
Now go the computer on your network where you want to play the files on. Start Windows Explorer. Here we’ll assign the SERVER computer as a network drive. You have a C drive which is your main hard drive. You have a D drive wihich is usually a CD or DVD drive. Your SERVER can become yet another drive letter. Maybe your Z: drive or your X: drive.
In Windows Explorer at the top click the Tools menu then click Map Network Drive option. Under “Drive:” choose a drive letter that the SERVER will be assigned. It can be any unassigned drive letter. Z: or X: or whatever you want.

In the “Folder” field, type the IP address of the SERVER and add the name of the folder that you shared. It should look something like: \\192.168.1.104\FILES. Then click Finish.
If you named the computer DATA, you could also use \\SERVER\DATA\
Now all those files are now accessible via the network as your Z drive. Enjoy!
Die Dulci Fruere
posted by Nitterbog @ 6:46 AM
![]()
![]()

0 Comments:
Post a Comment
Subscribe to Post Comments [Atom]
<< Home